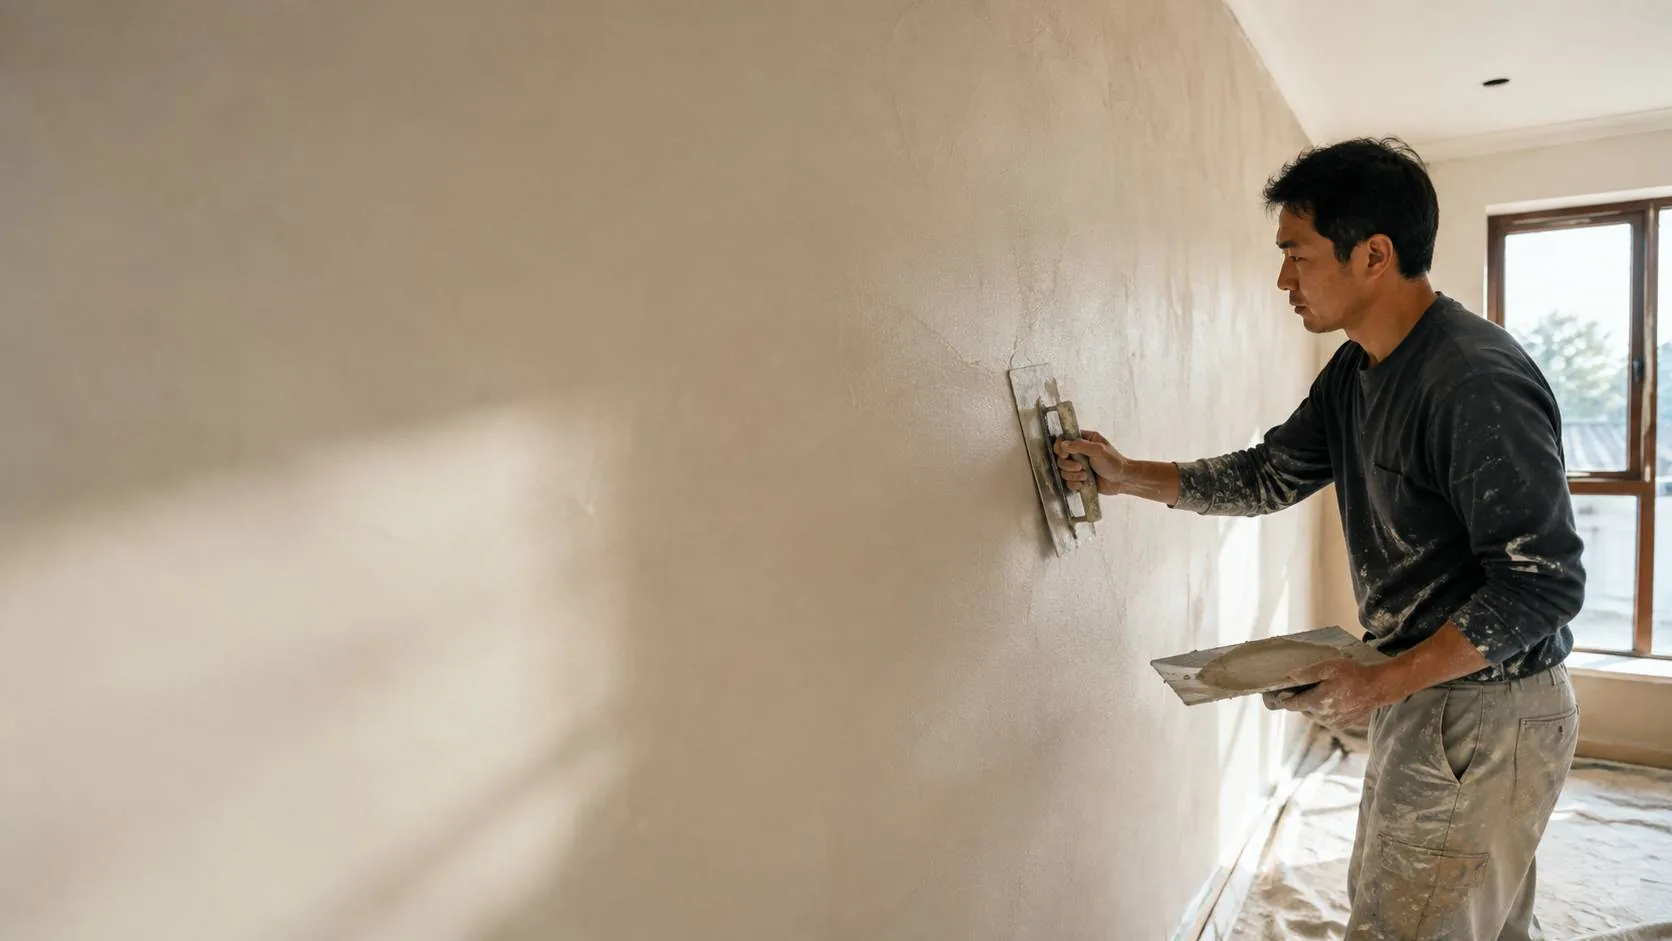
Plasterer skim-coating a wall to a smooth level finish in Singapore

Other Services

A better finish starts with a better foundation.

02

Plastering, Skim Coating and Cement Screed works are used to enhance the surface condition prior to the final finish.

Why preparation matters

Even. Sound. Ready for what comes next.

Unevenness, weak areas and unsuitable substrates can show through a new finish. Preparation works to correct visible defects and provides a more secure base for the chosen coating or treatment.

01

Plastering

Repair and level as appropriate for wall and ceiling surfaces prior to decorating. Good plastering will assist in rectifying localised defects and provide a solid foundation for subsequent finishes.

  • Localised wall repairs
  • Levelling uneven areas
  • Preparation for paint finishes
02

Skim Coat

A thin coat applied to enhance appropriate wall or ceiling surfaces. Skim coating can be used for smoothing out the surface, correcting small flaws and creating a more even surface.

  • Smoother wall appearance
  • Refining existing surfaces
  • Base preparation before painting
03

Cement Screed Works

Application of cementitious screed to appropriate floors or surfaces for leveling, falls or to achieve a raw architectural finish. Finish and use are considered prior to work.

  • Floor levelling
  • Selected wall and floor finishes
  • Substrate preparation
04

Self Leveling Works

A compound material that is poured onto an existing floor to create a flat, even surface for installation of tile, vinyl, timber or an epoxy coating. It drains under gravity to level out dips, humps and small falls that a trowelled screed will not necessarily level, and dries quickly enough to keep a renovation project on track.

  • Flat, level base for tiles, vinyl & timber
  • Correcting dips, humps and uneven slabs
  • Preparation before epoxy floor coatings
  • Substrate priming and moisture checks first

Before work begins

The existing condition guides the method.

The preparation depends on the type of substrate, previous coating, moisture exposure and desired finish. A site review is used to establish the correct materials and sequence prior to preparing a quotation.

Diagnosis first

Which treatment does your wall actually need?

Paint magnifies whatever sits underneath it. This is how we match the fix to the fault.

ProblemThe right treatmentWhat it involves
Hairline cracksCrack filling + skim coatCracks opened, filled flexibly, skimmed level and sealed before painting.
Uneven or patchy wallsFull skim coatA thin levelling layer over the whole wall, sanded to an even plane.
Hollow or damaged renderHack off & re-plasterFailed plaster removed to a sound base and rebuilt — patching over hollow render fails fast.
Rough or out-of-level floorsCement screedA levelled screed bed that readies floors for tiles, vinyl or epoxy.
New brick or block wallsPlaster + proper curingFresh plaster applied and allowed to cure before any paint system goes on.
Dips, humps or an uneven floor slabSelf levelling compoundA free-flowing layer that finds its own level, giving a flat base for tiles, vinyl, timber or epoxy.

Realistic timelines

How long does surface preparation take?

Honest, typical timelines. Every stage should be given its drying or curing time before the next trade — the classic mistake that leads to paint failure. Actual times vary with location, thickness and climate.

WorkTypical durationBefore the next step
Skim coat (whole flat)Around 3–5 working daysFully dry, sealed, then painted
Plastering repairs1–2 days for patchesCures before skim or paint goes over it
Cement screed1–2 days to layProper curing before tiles, vinyl or epoxy
Self-levelling compoundPoured in a dayWalkable in hours; floor finish follows the product's spec

How it works

Our surface preparation process, step by step.

01

Inspect

The condition dictates the treatment, not a standard package, walls and floors are checked under raking light, adhesion and moisture tests are carried out where necessary.

02

Protect

Floors, joinery, sockets and openings are masked and sheeted; work zones are sealed off from the rest of the home.

03

Rebuild & level

Failed render is hacked off and re-plastered, cracks are opened and filled, then skim coat or screed goes on at the right thickness.

04

Cure, sand & seal

Each layer is dried according to schedule prior to application of next layer; surfaces sanded flat and sealed for paint or floor finishes.

The expensive shortcut

What happens if you paint without preparation?

No big drama on day one, the issues come in over the next few months, and each of the issues is more expensive than the preparation.

Pricing, honestly

How much does skim coating and plastering cost?

Our whole-flat skim coat & plastering prices are published not a mystery quote.

FAQ

Surface preparation questions, answered.

What owners ask before the invisible work that decides the visible result.

What is the difference between plastering and skim coating?

Plastering rebuilds a wall's thickness and structure — used when render is hollow, damaged or missing. Skim coating is a thin cosmetic levelling layer over a sound base, applied purely to get a smooth, even plane for painting.

How long after skim coating can walls be painted?

Once the skim has fully dried — typically a few days depending on thickness, weather and ventilation. We seal the fresh surface first, then paint. Rushing this stage is a classic cause of patchy finishes, so we schedule it properly.

Will skim coating and sanding cover my home in dust?

No. Work zones are sheeted, doorways sealed and sanding is managed with vacuum-assisted tools where suitable. The area is cleaned at the end of every session, not just at handover.

Can you skim coat over old paint?

If the existing coating is sound — we test adhesion first. Flaking or glossy surfaces are prepared or stripped before skimming so the new layer bonds permanently.

What is the difference between cement screed and self levelling?

A cement screed is trowelled on and can be built up thicker, shaped to falls and laid over larger level differences. Self levelling compound is poured and flows out under its own weight to a very flat finish — better for correcting dips and humps before tiles, vinyl, timber or epoxy, but it is not designed to create falls or heavy build-ups.

Do floors need screeding before epoxy coating?

Epoxy needs a level, sound, dry substrate. Worn slabs usually need repair and grinding; where levels are off, a cement screed creates the flat base the coating needs to perform.

Can you skim coat just one room — or even one wall?

Yes. Skim coating is priced by area, so a single feature wall, a ceiling or one bedroom is a normal job. We feather the edges into the surrounding surface so the levelled section does not stand out under light.

What is the difference between skim coat and wall putty?

They solve different sizes of problem. Wall putty fills small dents, nail holes and localised imperfections spot by spot. A skim coat levels the entire wall with a thin continuous layer, so the whole plane reads flat under light. Putty patches on an uneven wall still show once painted — which is why patch-and-paint quotes often disappoint.

Do you do surface preparation as a standalone job, without painting?

Yes. Skim coating before your own painter takes over, screed or self-levelling before new flooring, and plaster repairs on their own are all normal jobs — you are not obliged to bundle painting with it.

Do new BTO walls need skim coating before painting?

Often not — many BTO walls are handed over already skimmed. We check flatness under raking light and only recommend skimming where walls are genuinely uneven or patched. If your walls are sound, we say so and quote painting only.
Have a project in mind?

Let's talk about your surfaces.

Request a site assessment

Certified contractor · trusted paint brands

BCA registered contractor
bizSAFE Star certified
HDB Registered Contractor
Nippon Paint
Dulux
Jotun
Gush Paint
Raffles Paint
Benjamin Moore
WhatsApp us